How to Build a Hulda Clark Zapper on a SYB-170 Mini Breadboard
A note before we begin:
Crafting is serious business. Don't do anything you don't feel confident about. You will need tools and expertise. Wear eye protection and be careful of sharp tools. Wear gloves when it makes sense, and don't wear gloves when they may get pulled into machinery, like when using a drill press. You know who you are. If some part of all this seems beyond your skill set, ask someone for a hand, but not the hand stuck in the drill press. Ask someone more competent than that. Make the project a collaboration and a reason to be social to get it done. Building your zapper will give you something to talk about and do together. Being social is good for you. See, things are already going in a healthy direction, so don't get hurt crafting. Let us make sure to come out of this build with all the eyes and fingers we entered in with. And now, let us begin.
What is a SYB-170 Mini Breadboard?
The SYB-170 breadboard with 170 connection points is a grid that measures about 1 13/16" X 1 3/8" dimensions. This will help you make your Hulda Clark Zapper circuit fit into smaller containers than the standard breadboard allows.
Hulda Clark Zapper SYB-170 Mini Breadboard Circuit Parts List:
Or one resistor at a time ~ either way, you must resist:
- 1K ohm 1/4 watt 5% resistor
- 2.2K ohm 1/4 watt 5% resistor
- 4.7K ohm 1/4 watt 5% resistor
- 39K ohm 1/4 watt 5% resistor
.0047 uF Ceramic Disc Capacitor
Long (1 meter) alligator to alligator leads
Red & Black 22 gauge solid hookup jump wire
Optional Gear and Parts:
1N914 Diode (protects 555)
Solder Station with spool of solder - solder the battery snap to the switch
Wire Stripper - most satisfying tool I own - you should get one and do this at home
You will need a set of pliers to work with wire.
You may need to drill holes in your plastic enclosure for a switch and 2 outputs.
This is what I use: Milwaukee and drill bits
Container Ideas
You must find a plastic box to contain the breadboard circuit in. Sure you could buy a plastic electronics enclosure that has a little compartment for a 9 volt battery, but it's not very exciting. I look for old electronic items or old toys, remote control cars, anything that has a 9 volt battery compartment works best. Think about where the circuit will go. Maybe all you need to do is remove all the old electronics and put the zapper circuit in its place. Do you need to install the LED into any light-up feature already in the device? Where will you drill to mount a switch and outputs?
How you will interface with the zapper is a consideration. An easy solution is to make output bolts. Drill 2 small holes that can fit a short bolt each. Mount the bolt so it sticks out a bit on the outside of your container by sandwiching it inside the hole and kept in place with two nuts, one tightened on either side of the container wall. Leave a short bit of the bolt sticking out on the outside of your container for an alligator clip to easily grab.
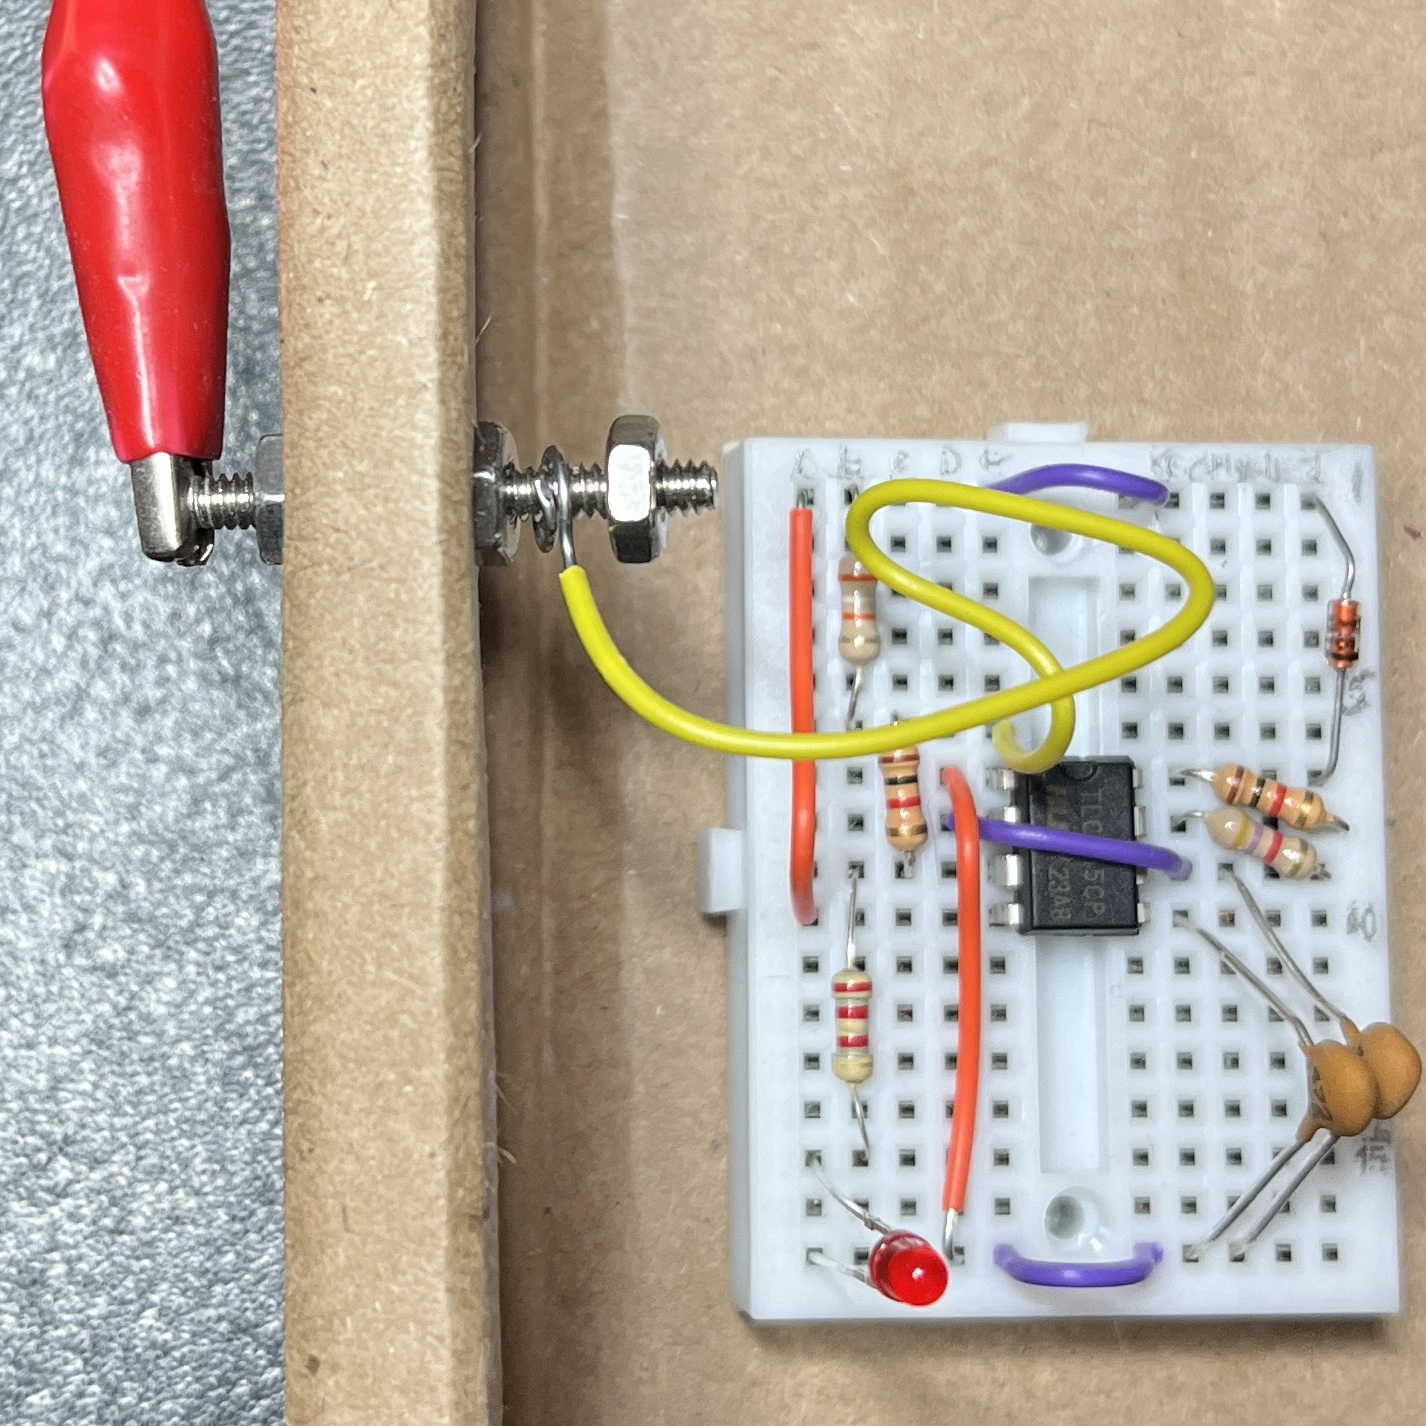
This is how I do it: I drill two holes in my container that the bolts fit through. I put one nut on each bold about half way in the middle of the bolt. Then I place the bolt through the hole from the outside. On the inside of the container I wrap an output (+)(-) wire from the circuit, and trap it on a bolt with a nut. I tighten the inside nut so it holds the wire in place securing the inside connection to the bolt. The bolt on the outside can now be easily grabbed by an alligator lead completing the connection making it easy to interface with the zapper.
The positive and ground output is each connected to a bolt, each bolt is connected to an alligator lead, and each alligator lead is connected to a copper handle. Remember to test your circuit on a digital multimeter.
I just added everything needed at Amazon to build a zapper and my cart has $99.34 and this is not including a container, tools, or copper pipes. Indeed.
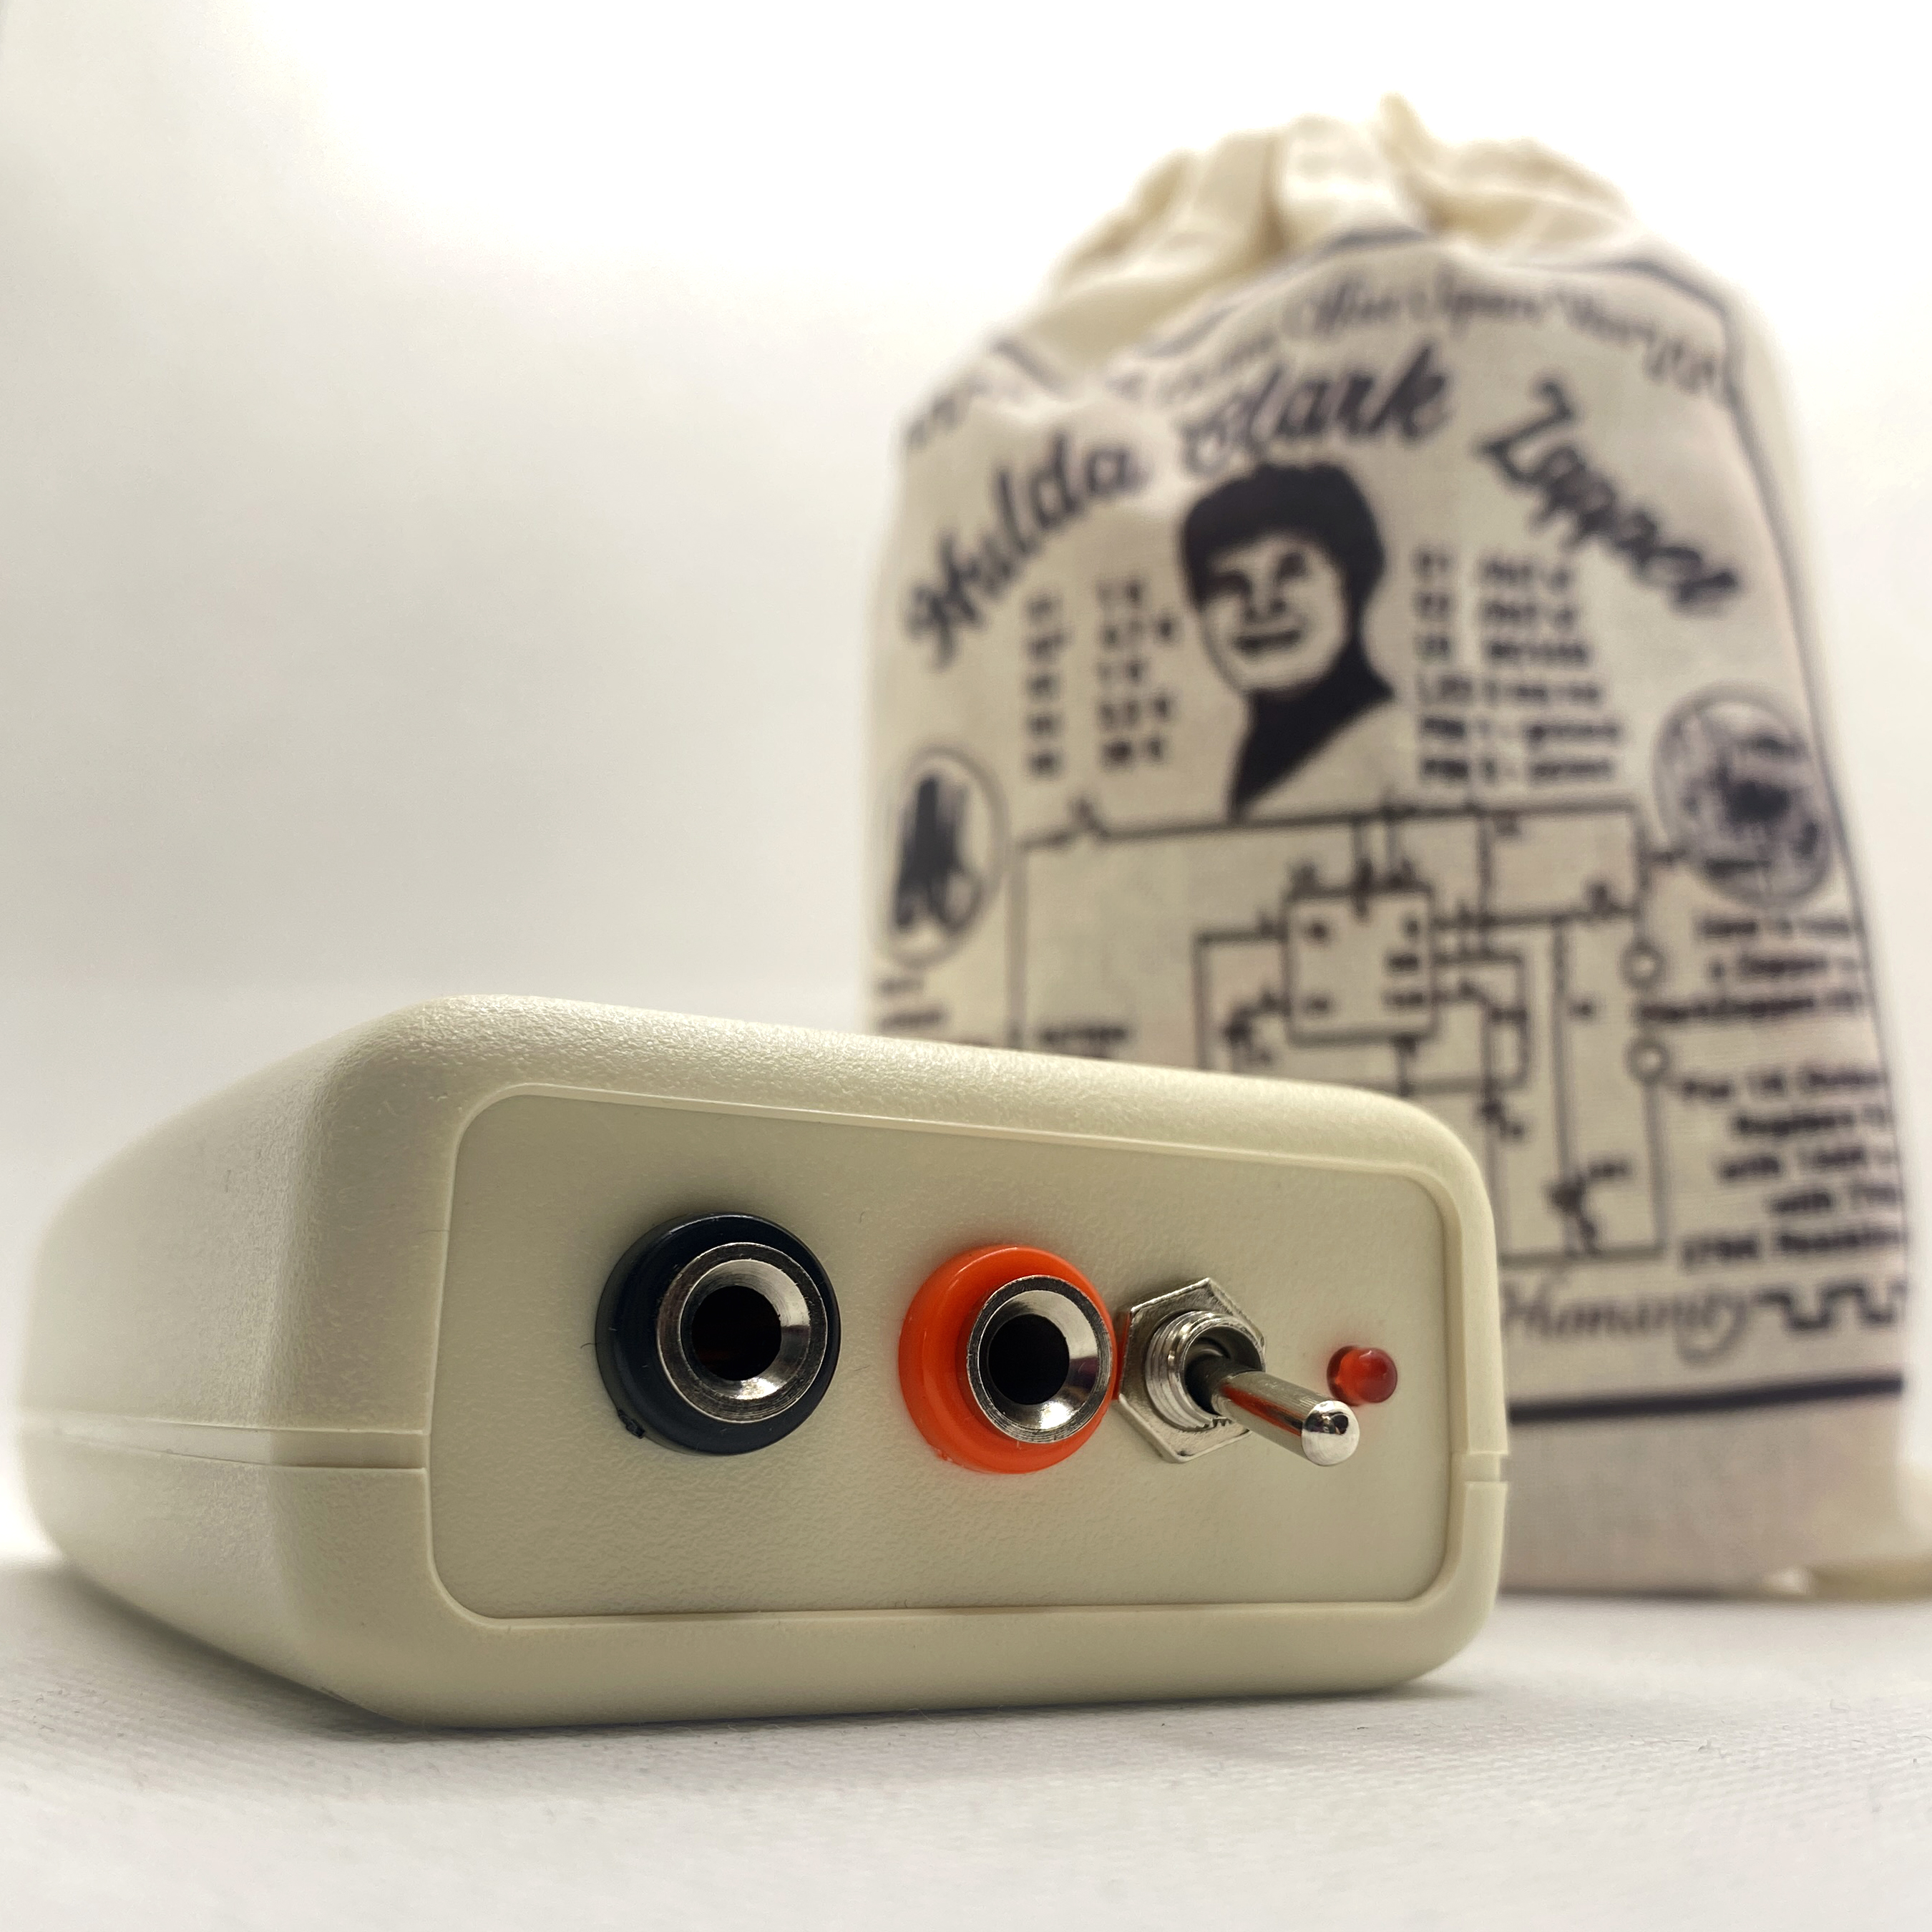
Order the Hulda Clark Zapper 30 kHz Mini Breadboard Kit to build your own zapper. Includes SYB-170 Mini Breadboard in a random color, 555 CMOS Timer, 5 resistors: (2) 1K Ohm, 2.2K Ohm, 4.7K Ohm, 39K, (2) .0047 uF Capacitors, Red LED, 1N914 Diode, (5) Jump Wires, (2) Alligator Leads, and Pre-Soldered Battery Snap/On-Off Switch. All this comes in a sturdy little cardboard box you can use to house your finished circuit. The full-color instructions will help you build a 30 kHz (30,000 Hz ) circuit. Kit does not include copper pipes.
The 555 CMOS Timer is the most likely part to need replacement, so it may be smart to order extras when building a kit.
Order Copper Pipes or follow instructions below.
Copper Handles
Possibly the hardest part of this build is procuring your copper pipe handles. If you have a friendly neighborhood hardware shop near you, go when they are not so busy and they'll gladly take the time to cut your little 4 inch handles, but here's my warning, they might think you are crazy. They are used to selling copper pipe by the 10 foot length, so it confuses them when you want two 4 inch pieces. They won't even be sure how to charge you for such an item, if they'll sell it to you at all.
Big box stores will sell you the entire 10 foot length of 3/4" copper tubing, and you can take it home and cut two 4 inch handles off it and keep the 8 feet extra for all your future plumbing needs. Precious metals are on the rise. Think of it as an investment in copper.
Here is where the eye protection comes in. You must protect your eyes now in order to protect your fingers in the future. Crafting is complex, and may involve time travel. That's why being called crafty means you are smart! You will need a half-round file to smooth out the sharp edge of the copper handles. Wear gloves and eye protection. Use the round side of the file to clean out the inner diameter of the pipe, and use the flat side of the file to smooth the outer edge. The inside and outside edges of the copper handles must be finger friendly.
Two copper pipes of 4" length and 3/4" diameter is what you want. I go to a hardware store and ask kindly for them to cut a set of two just for me to take home.
These copper stubs could work: but these seem too long, while these too short.
Once the edges have been filed smooth, Scotchbrite is great to shine up copper handles.
Once your pipes are filed and finger friendly it's time to zap.
How To Zap:
Wrap each handle with one layer of damp paper towel.
I use a sprayer with water to get the handles damp each time before I zap. Zap for three 7 minute sessions with a 20-30 minute break in between. If you pass the zapper after each 7 minute zap, up to four people can zap in about the same amount of time as one. Use an old fashioned kitchen timer to follow the zap schedule.
The Hulda Clark Zapper has not been licensed as a medical device by the US FDA. Hulda Clark warns that anyone who is pregnant or wearing an electronic pacemaker must not experiment with a zapper. When experimenting with your new zapper do not come in contact with anyone pregnant or wearing an electronic pacemaker while the unit is on. Books by Hulda Clark are available at HuldaClark.com 🌅
The Build Your Own Zapper Kit is sold as an educational tool only. No medical claims are intended by the sale of these electronic parts. Our Zapper Kit is a great project for a school science fair or to learn the basics of building simple electronics. Please note that when ordering electronic parts and kits we can assume no liability on the customer's ability to use them. Safety, craftsmanship, experience, and ability are the user's responsibility. Electronic parts are small and fragile. We cannot offer refunds or replacements on electronic parts. Buy electronic parts and kits only if you believe you can accomplish the work.
Be sure to share your homemade zapper with us on Instagram or TikTok by tagging us @huldaclark or #huldaclarkzapper. We love to see the Hulda Clark Zappers you make. Happy Zapping!!!
Get a Hulda Clark Zapper handbuilt for you: